Vector Tutorial: Comic Monster Character
« Ingrid de Lugt, A Hearty Dose ... | Abstract Vector Wallpaper - The Power of ... »
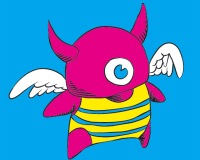
Vector Tutorial: How to Create a Vector Art Comic Character
Tutorial Details
- Program: Adobe Illustrator
- Version: CS
- Difficulty: beginner/easy
- Estimated Completion Time: 30 - 45 minutes
Vector Tutorial: Comic Character
Step 1
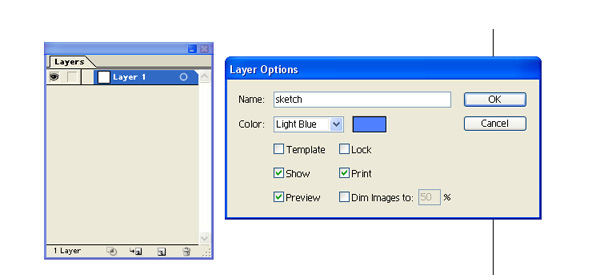
In new document double click the Layer 1 to rename it into "Sketch" layer. We are going to work the rough sketch within this layer.
Step 2
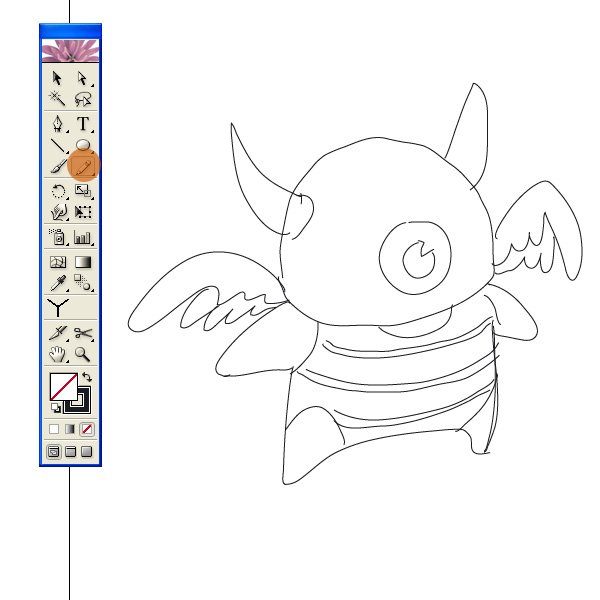
Now start sketching the character you have in mind using Pencil tool (N), since we will use it as a guide to draw the art line so we will not need tight and clean sketch, rough will be fine. I highly recommend you to use pen tablet instead of mouse to do that, otherwise you will spent much time. Set the strokes to black and fill to none.
Step 3
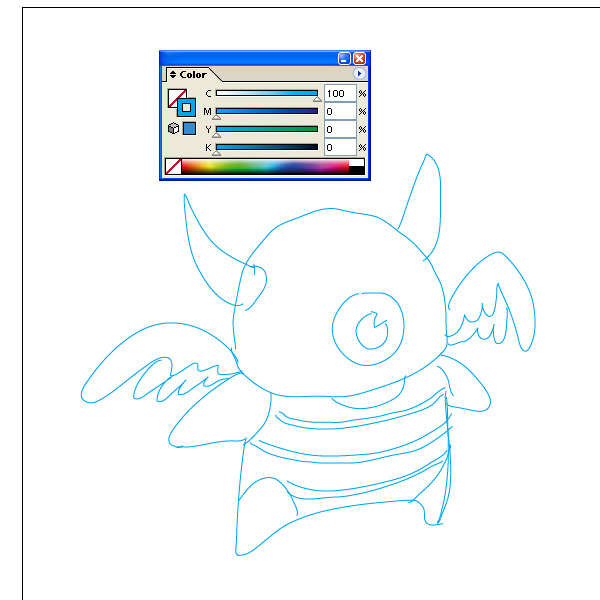
After you have your sketch, change the outlines into different color. I suggest change it into light color so you can see it clear when you trace over it with black color.
Step 4
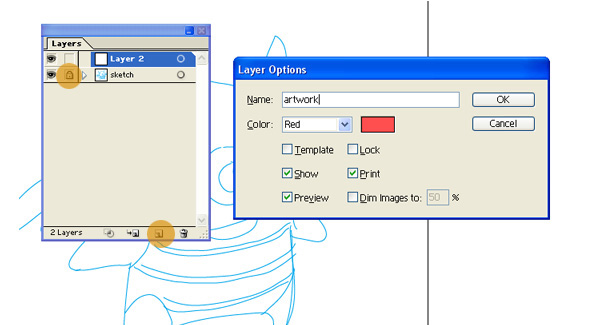
Now create new layer in Layer palette and name it "Artwork" layer. Lock the "Sketch" layer.
Step 5
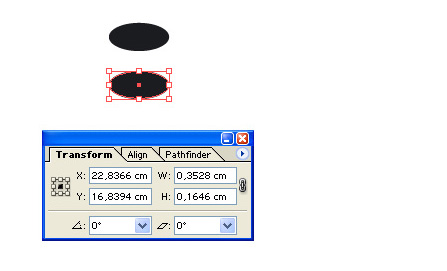
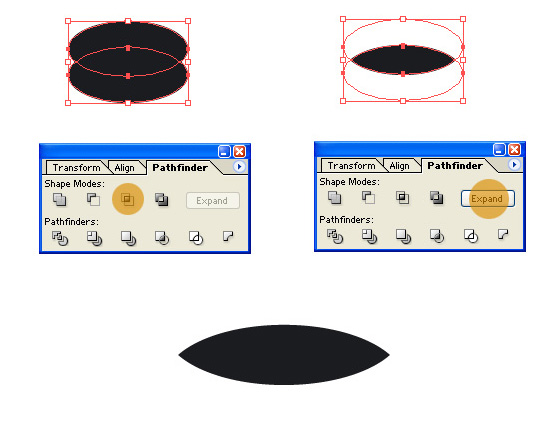
Next we are going to make custom brushes which we will use to trace over the sketch. Make two ellipses both are the same size and put them overlap each other as shown below. Select them both go to Pathfinder palette and click the Intersect button then click the Expand button.
Step 6
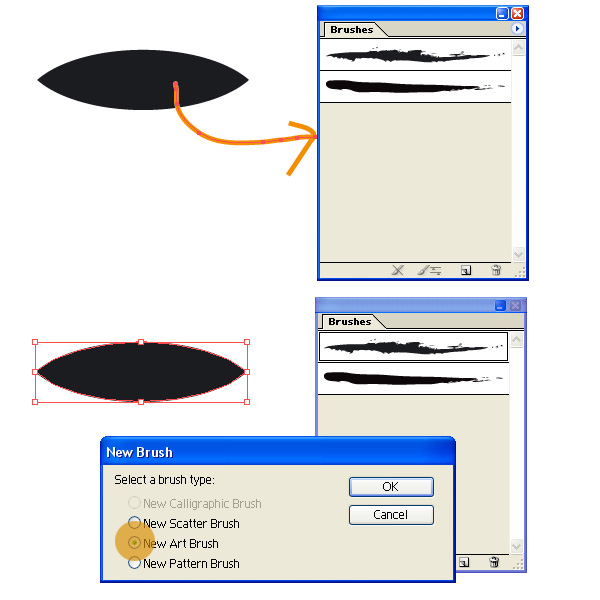
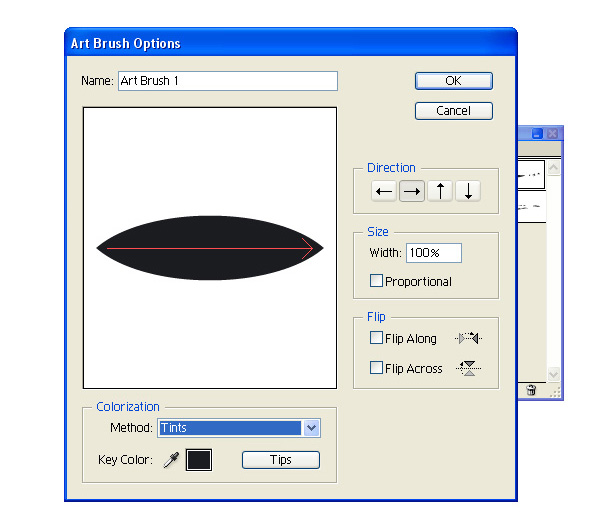
Drag the new shape into the Brushes palette to define it as new brush. When dialog box appear choose the new Art Brush option and set the setting as shown below.
Step 7
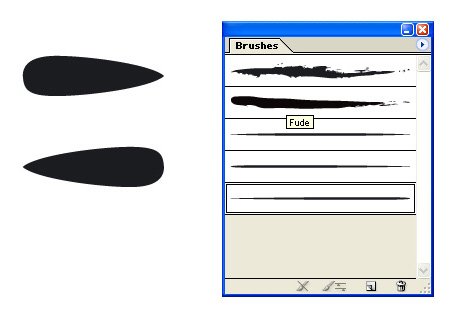
Make other new shapes and define them as new Art Brush also. Now we have officially three new brushes we will use later.
Step 8
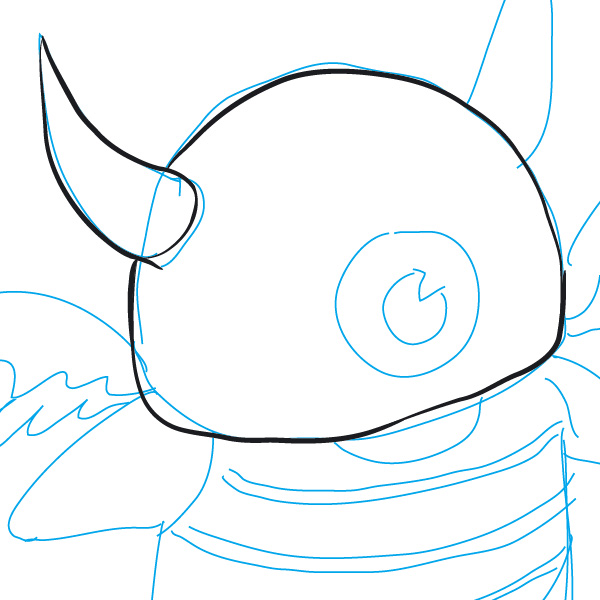
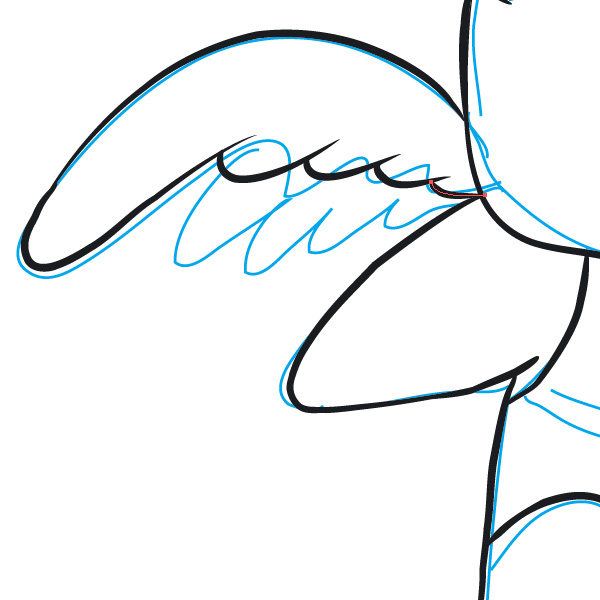
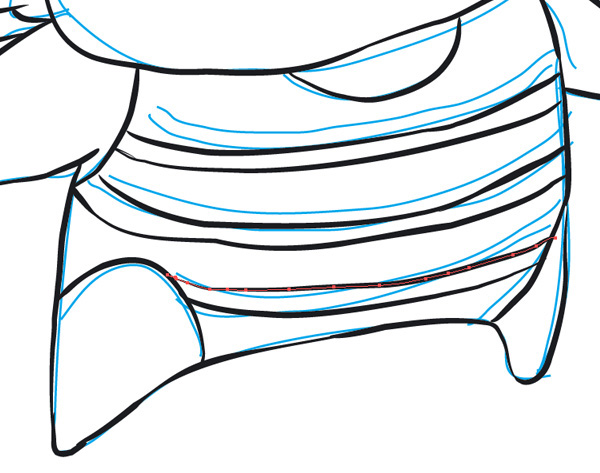
Start tracing the sketch using the new brushes, please make sure there is no open space between the outlines.
Step 9
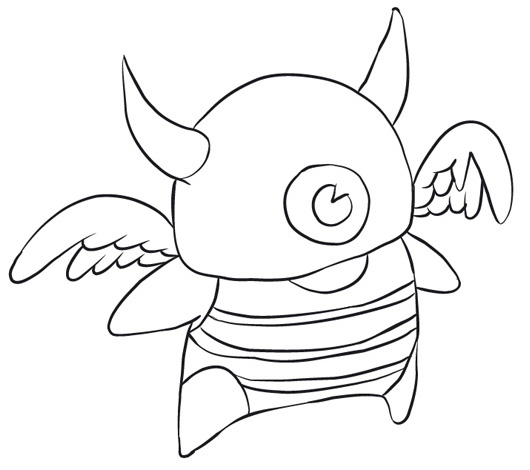
After 10 minutes tracing, here is what I got.
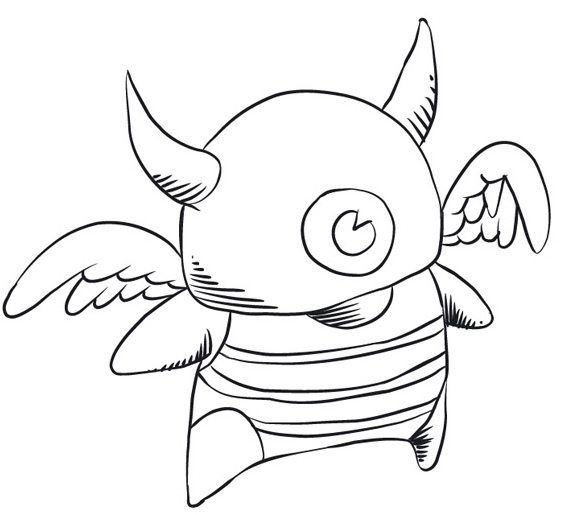
Add some crosshatching for the shade-in area.
Step 10
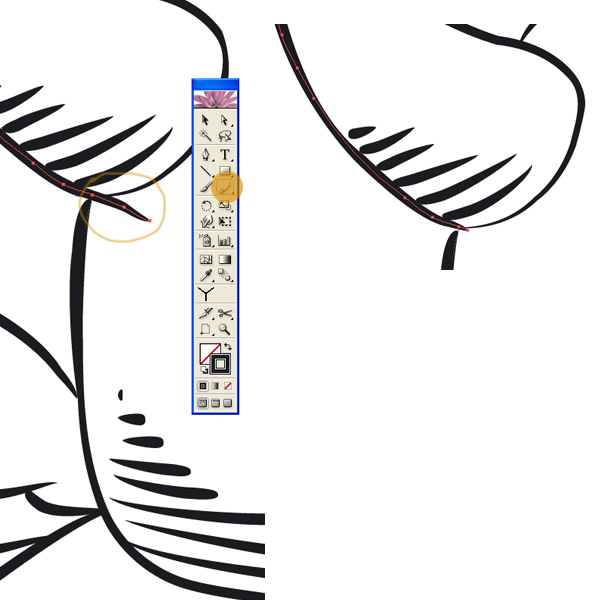
Zoom in the finished artwork and screen all corners to make sure there is no open space between the outlines, clean up unnecessary overlap stroke using Erase tool.
Step 11
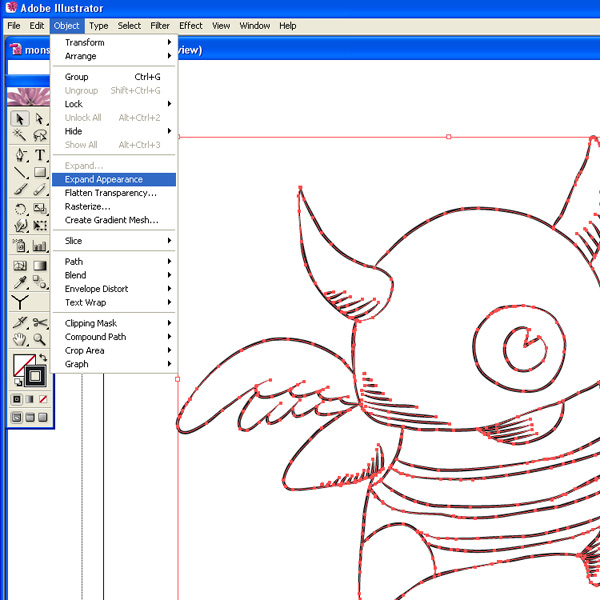
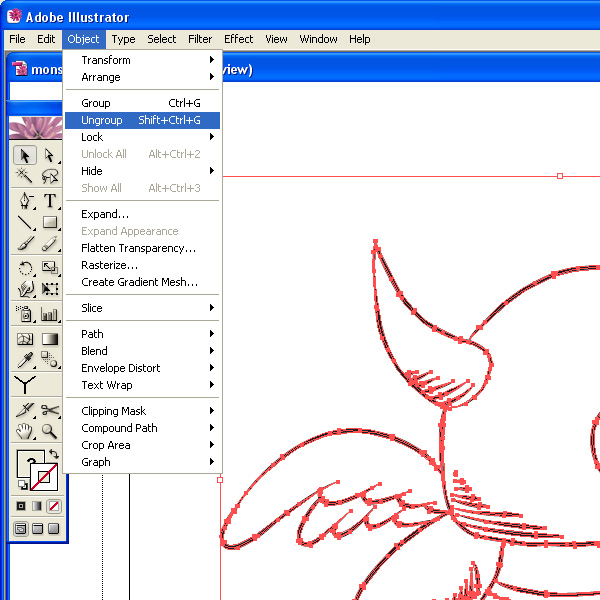
Now select all the lines (Ctrl + A) and expand them (Object > Expand Appearance), ungroup them after.
Step 12
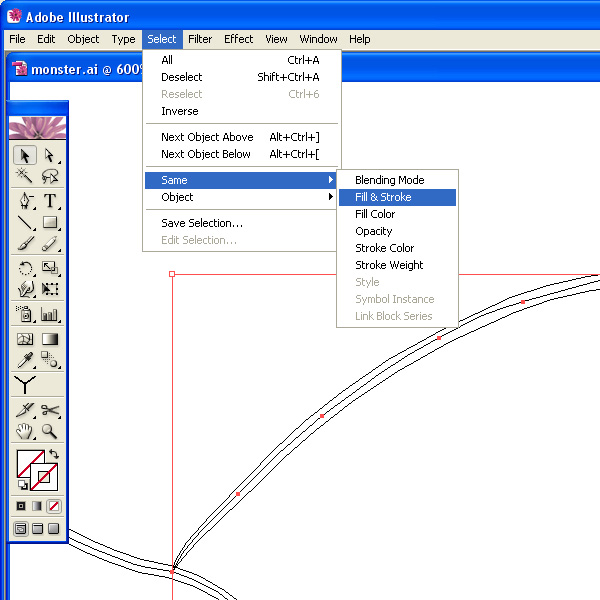
When we expand brush stroke we will have two paths as the result; a closed path with fill color and an open path without stroke neither fill color. We do not need the open path so let's get rid of them. Switch into keyline mode by pressing Ctrl + Y, select one of the open path, go to menu bar Select > Same > Fill & Stroke, delete them all.
Step 13
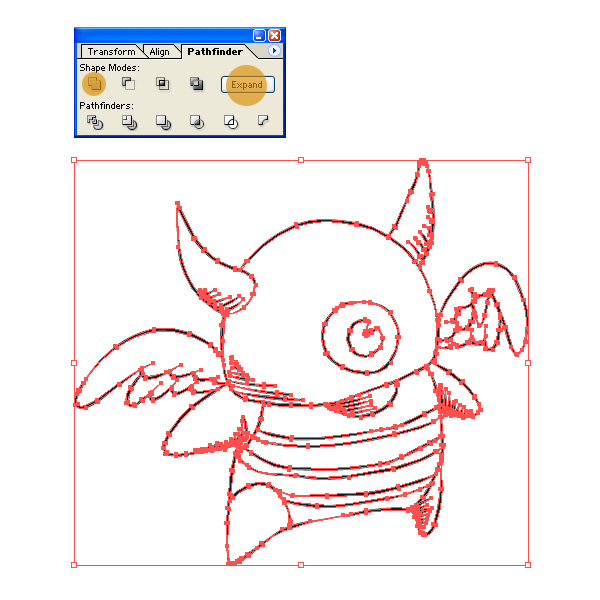
Now that the open paths have gone select all the fill shapes and go to Pathfinder palette then click Add to Shape Area button, click Expand button after.
Step 14
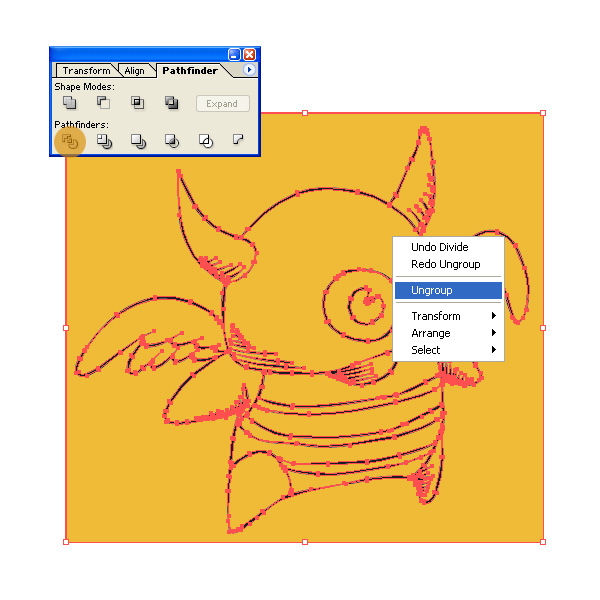
Make a rectangular object using Rectangle tool, fill it with color and put it under the artwork lines (go to Object > Arrange > Send to back). Select them, click the Divide button in Pathfinder palette, Ungroup it (Ctrl + Shift + G or right click over it and choose Ungroup option in the dialog box appeared).
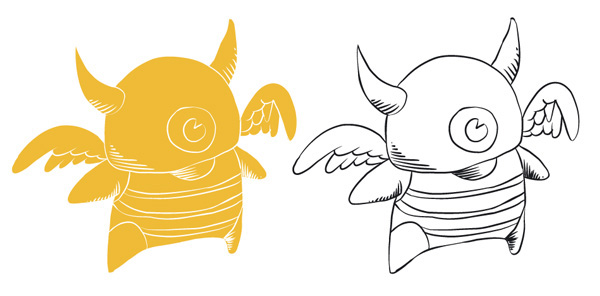
Step 15
Now it's the fun time, color the character as you like.
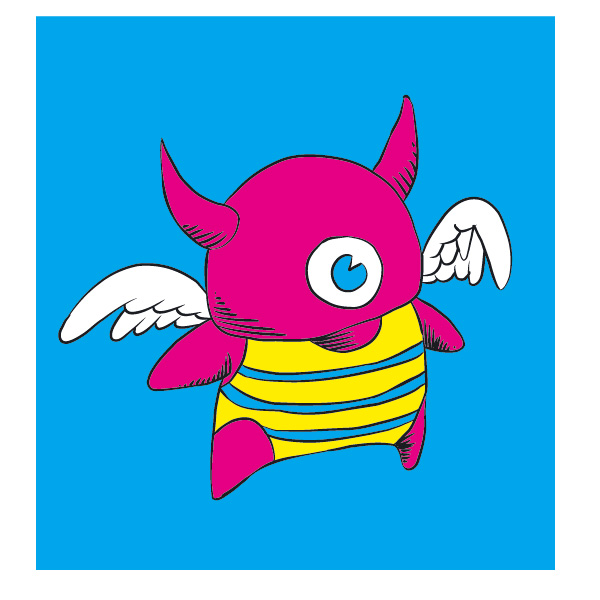
| Download Monster Character Vector (AI) |
Comments are closed.
Comments have been close for this post.


Comments
1 Glaud says...
Posted at 9:40 p.m. on November 7, 2009
2 Mikko says...
Posted at 9:01 a.m. on November 9, 2009
3 Admin says...
Posted at 4:55 p.m. on November 9, 2009
4 Waasys says...
Posted at 10:47 a.m. on January 9, 2010
5 ed hardy schuhe says...
Posted at 8:40 a.m. on September 20, 2010
6 arturockstar says...
Posted at 3:08 a.m. on November 6, 2010
7 Kevin says...
Posted at 2:07 p.m. on June 21, 2011
8 Haley Tsin says...
Posted at 8:28 a.m. on July 5, 2011