

Vector Tutorial: Creating 3D Airplane
« Airside - Pioneers on the Cutting Edge ... | Ingrid de Lugt, A Hearty Dose ... »

Vector Tutorial: How To Create a 3D Airplane
In this tutorial we will see how the 3D filter can help us work faster to create stunning illustration.
Tutorial Details
- Program: Adobe Illustrator
- Version: CS
- Difficulty: beginner/intermediate
- Estimated Completion Time: 45 - 60 minutes
Vector Art Tutorial: Creating a 3D Airplane
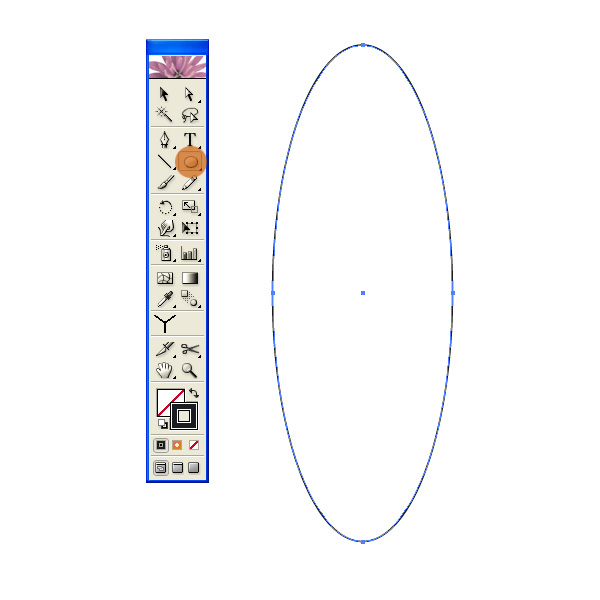
Step 1
Start with making an ellipse using Ellipse tool set the fill color to none and set the stroke to black.
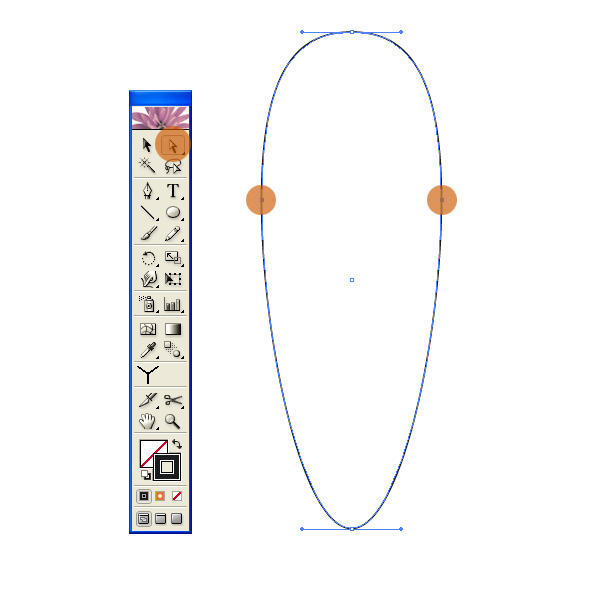
Step 2
Move both side anchors few pixels up by using Direct Selection tool (white arrow).
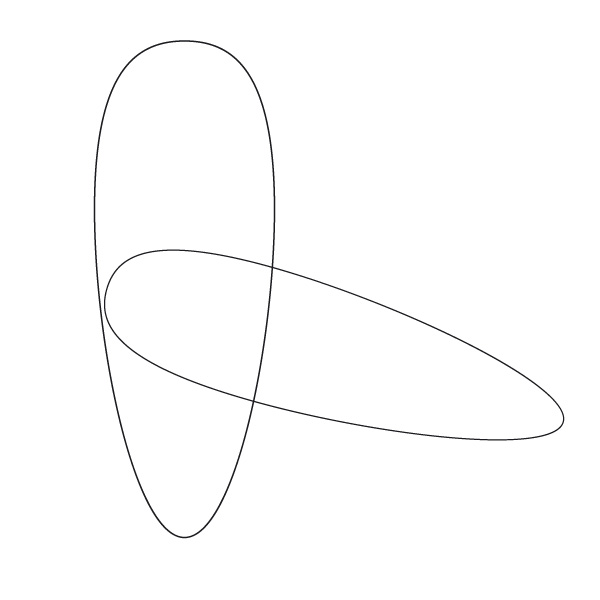
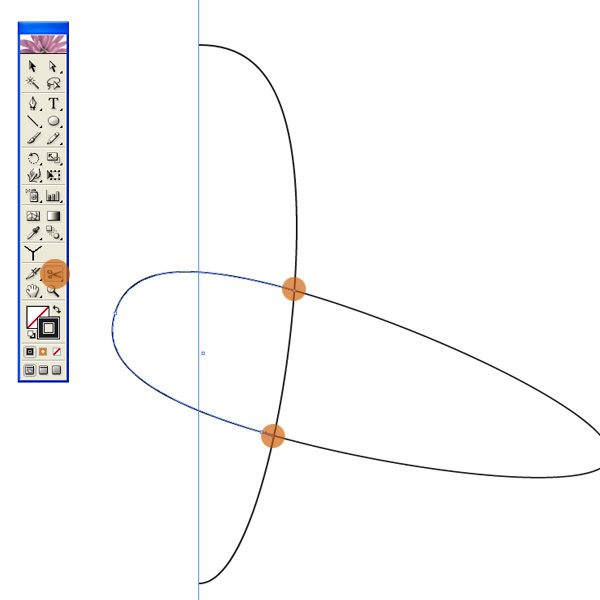
Step 3
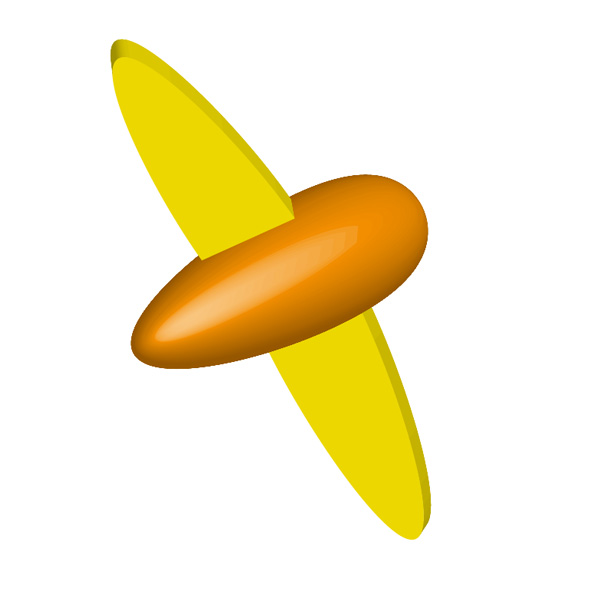
Copy and scale down the shape then position it as shown below. We will use the stand up one as the main body of the plane and the diagonal as the wing.
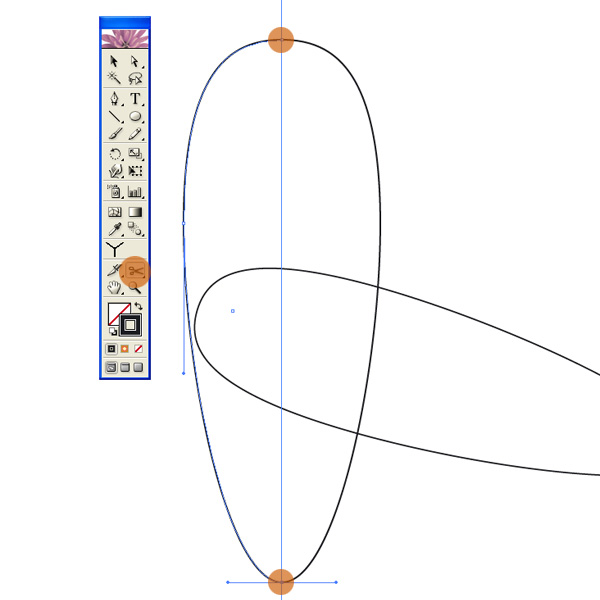
Step 4
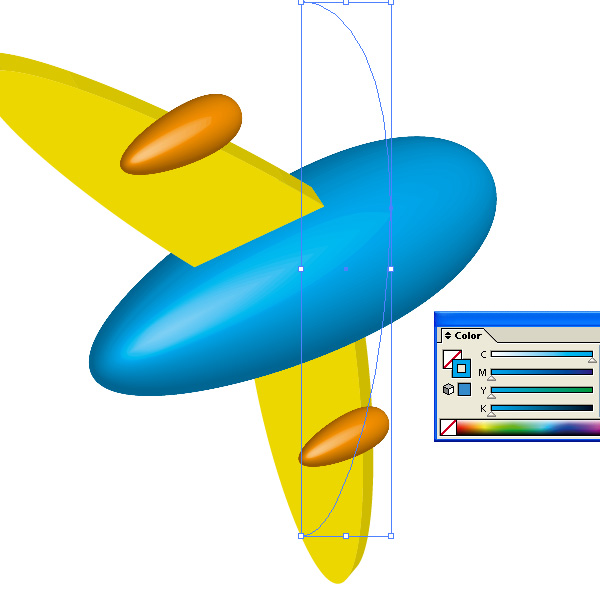
Click on the bottom and above anchors (orange circles) using Scissor tool (C) this will cut it into two separate pieces. Since we will only need one of them, delete the left or the right whichever you like.
Also cut the diagonal ellipse at the overlap spots as shown in orange circles below. Delete the unnecesscary path when it's done.
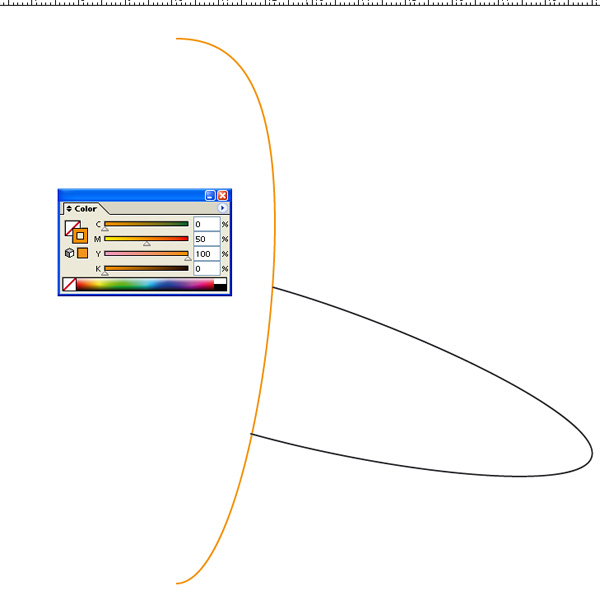
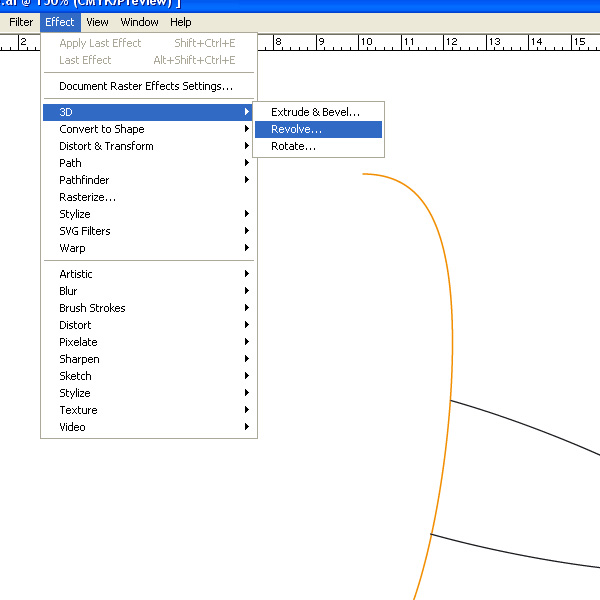
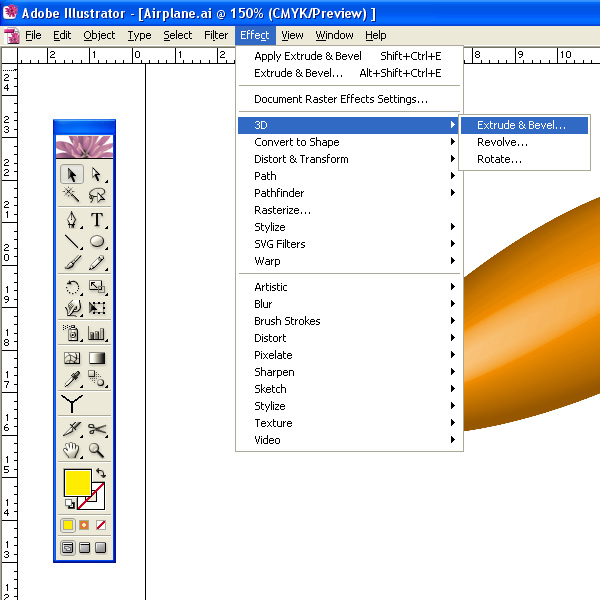
Step 5
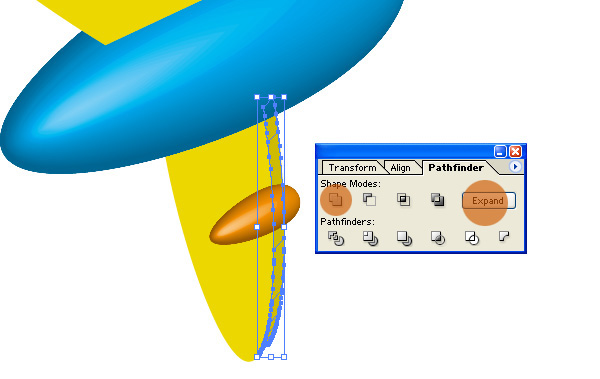
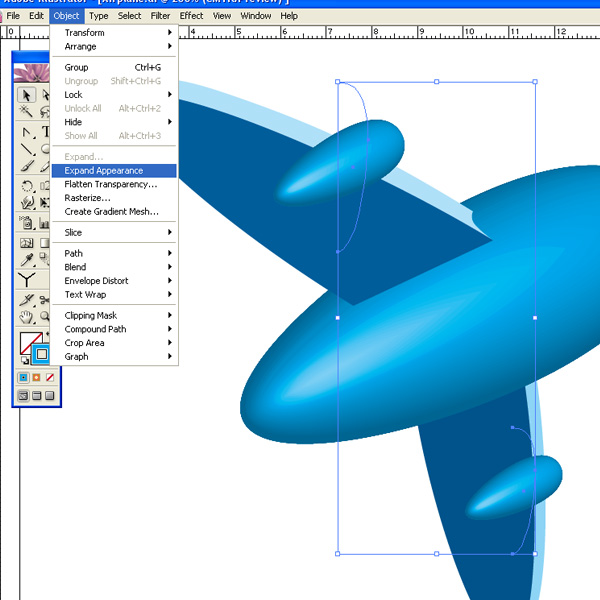
Now color the line before we apply "Revolve" filter to it, I use orange as the color. Select the path then go to Effect > 3D > Revolve, set the setting as shown.

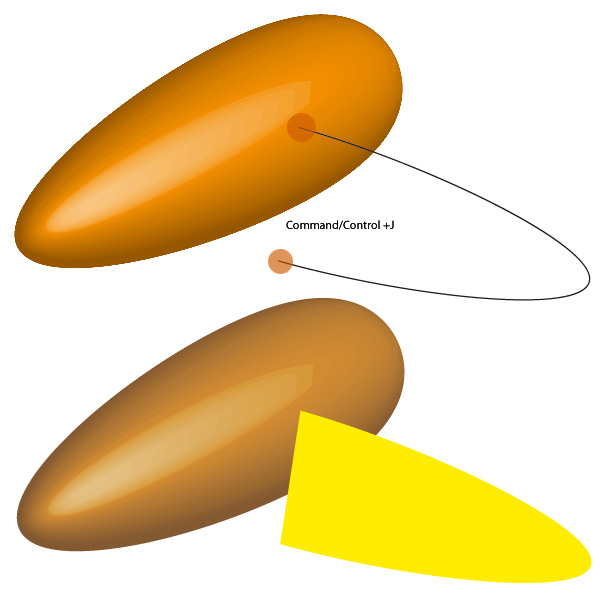
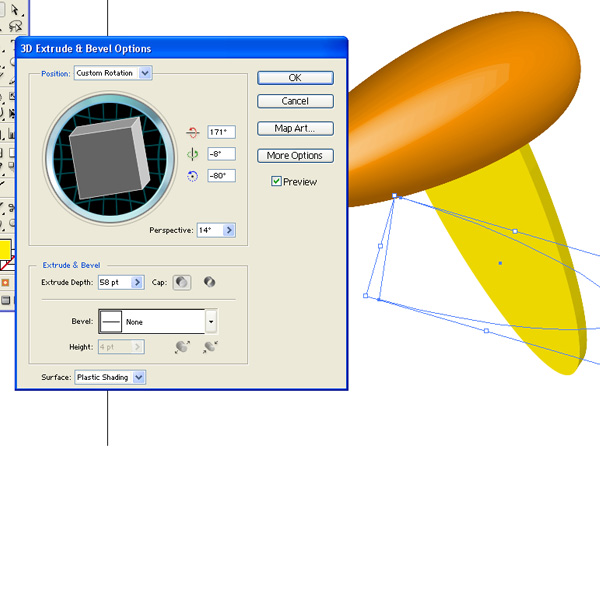
Step 6
Now select the anchor paths of the wing (orange circles) and joint them so we have closed path. Select the wing and apply Extrude & Bevel with the setting as shown below. Free you to experiment the setting just make sure it looks right in perspective though we can modified it later. Arrange it below the main body.
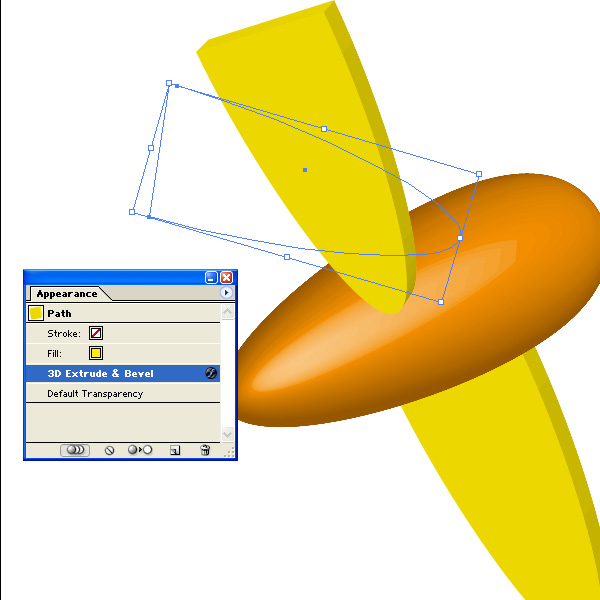
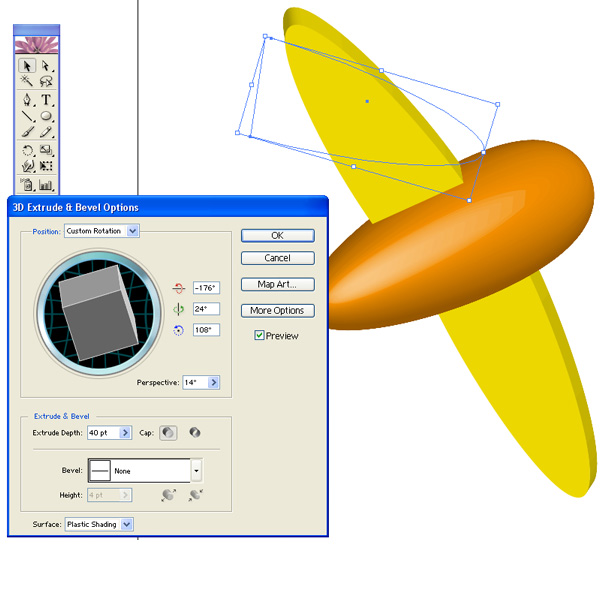
Step 7
Copy the wing and place it above the body (Ctrl + ]). Next is the tricky part, we need to change the setting to have its angle look right. Go to Appearance palette and double click the Effect, then change the setting once the dialog box appear until you have the look as you want..
This is what we have so far.
Step 8
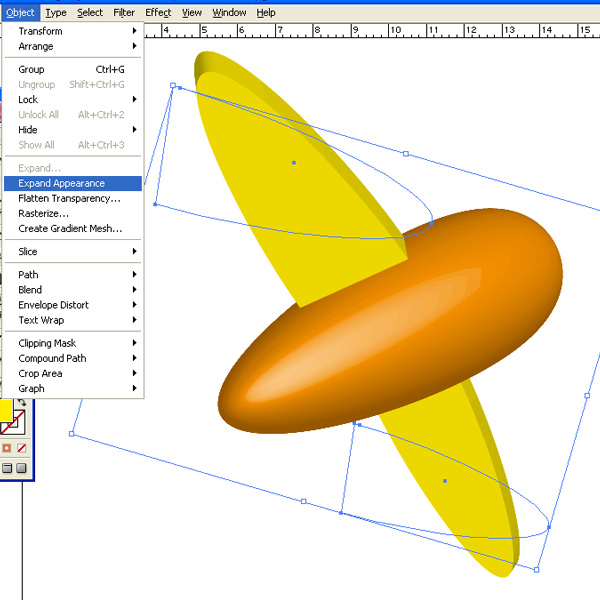
Since the right wing is positioned as foreground it should look bigger then the left, scale it up a bit so you have the right proposition. Select both of the wings and expand them into multiple separated objects, once we expand the effect we would not be able to modifiy the 3D setting, so make sure you have the right angle before you do that.
When it's done skew the wings using Shear tool. Select the foreground wing using black arrow tool, switch to Shear tool, and the axis guide will appear in the center of the object. Drag the axis point to bottom of the wing and start drag the object to the left. Do the same to the other wing.


Step 9
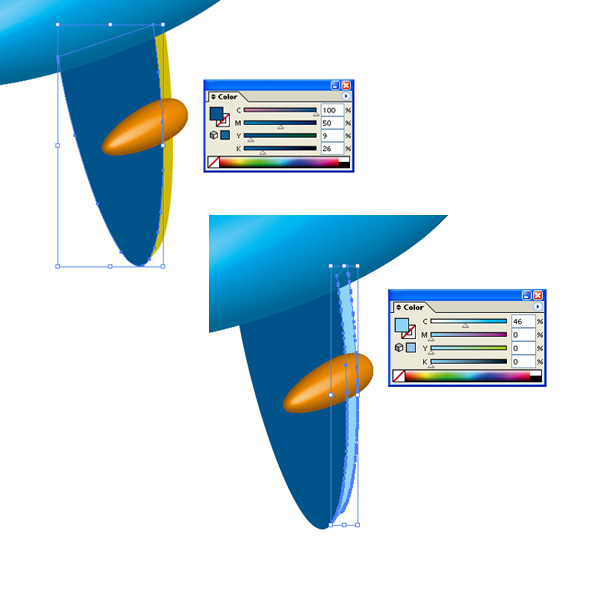
Make to copies of the main body and scale them down, position them as shown below after. I'm not happy with the orange look as the body so I change it into blue.

Step 10
Start re-colors the wings.
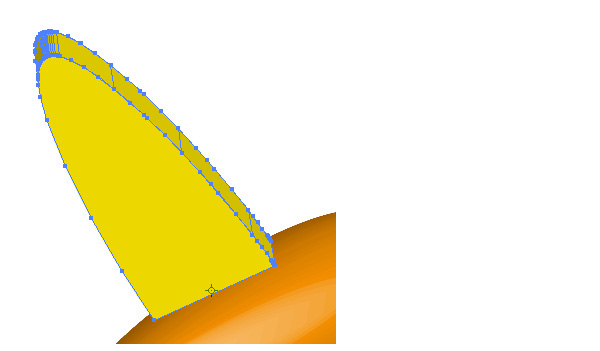
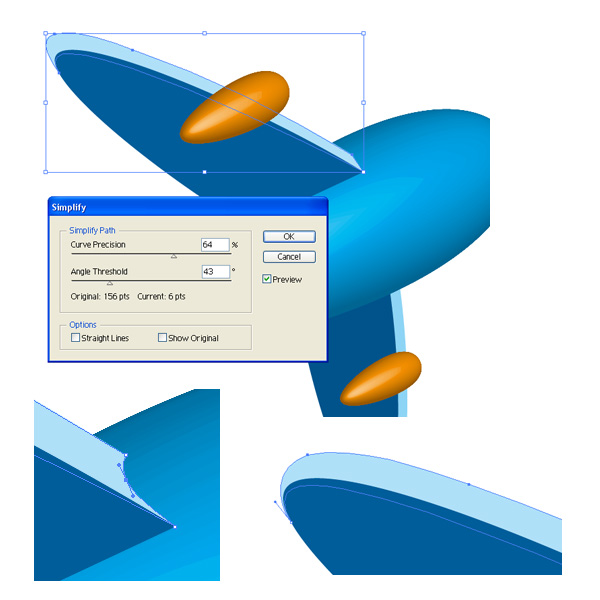
Step 11
Often after we expand some effect, it results objects with so many complex anchor points within which most are unnecessary. So let's clean it up. Also do some needed adjustment to the anchors.
Step 12
Make two copies of the main body, rotate and scale them down and position them at the tail of the plane.
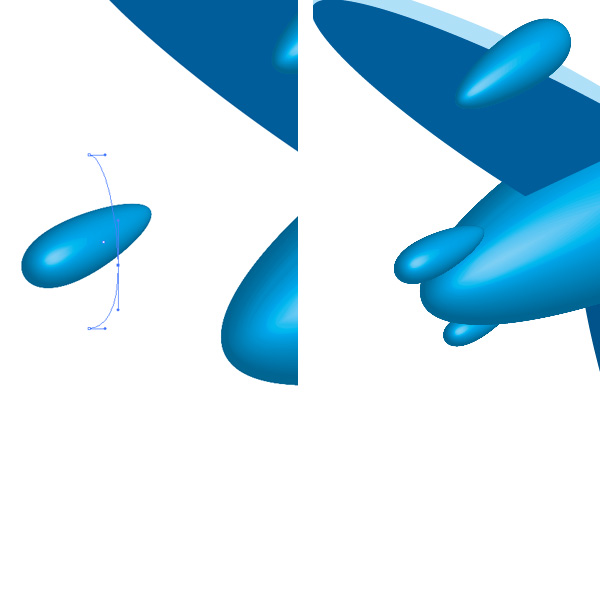

Step 13
Now use path tool (P) to make the rear fin of the plane as shown below.
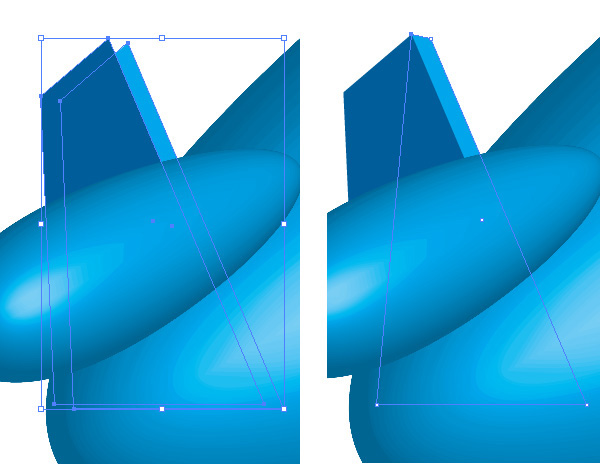
Step 14
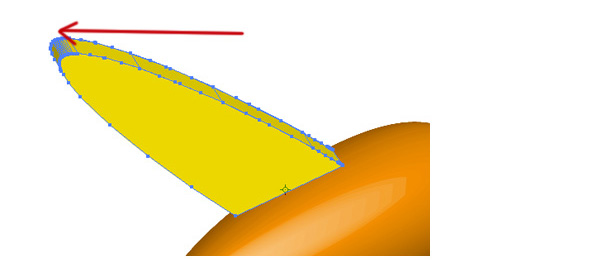
Draw an ellipse and position it as the cockpit. I just realize that the left wing doesn't look right in perspective so I make adjustment by deleting some part of it that should not be there.
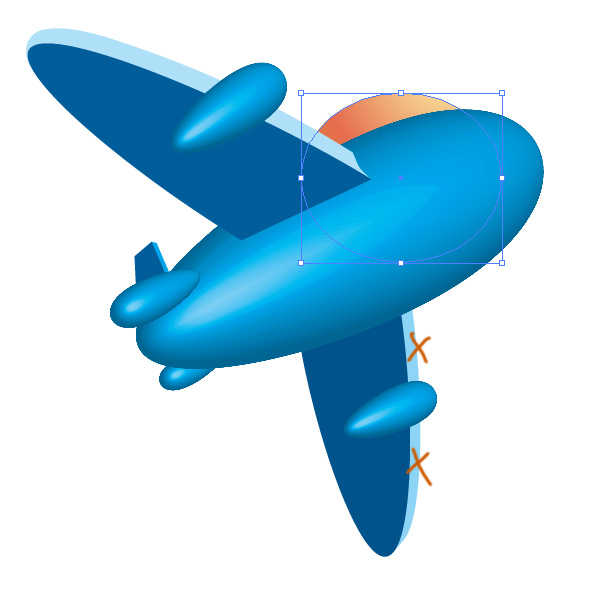

Step 15
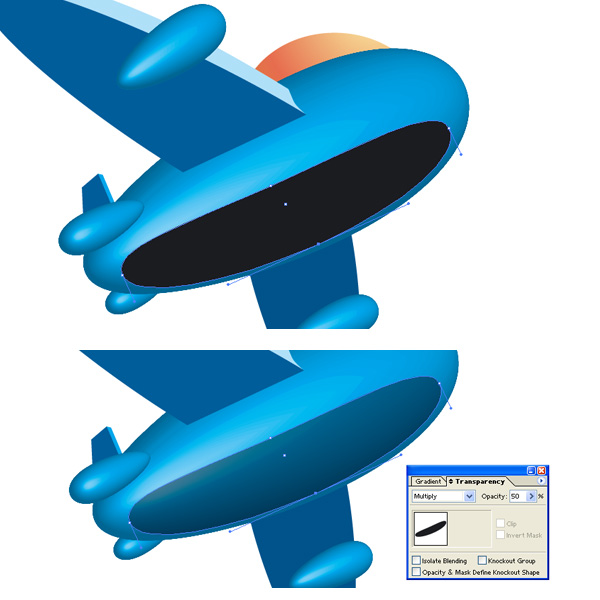
Now that the plane is almost finished, one last thing is to do is to add shades to it. Create black ellipse to be positioned below the main body, and use the white arrow tool to adjust the anchor points so it has the shape as shown. After you have it, go to Transparency palette and change the blending mode to multiply with 50% opacity.
Now we have the plane completely done.

Step 16
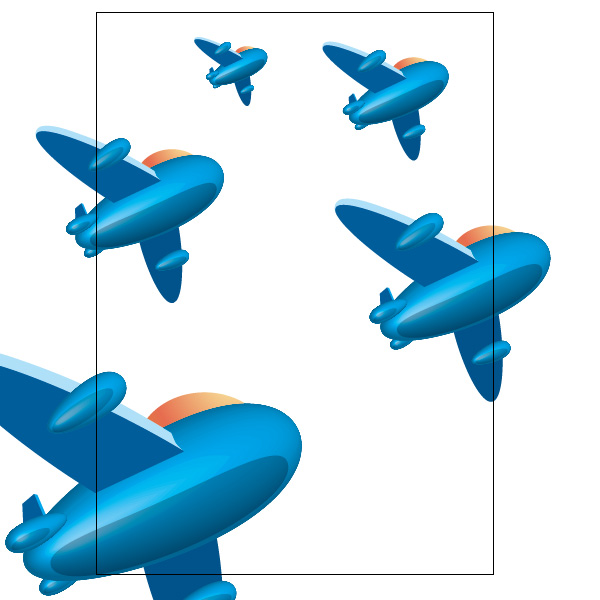
Make some duplicates of it (do not forget to group them first before) and arrange the composition as you like.
Step 17
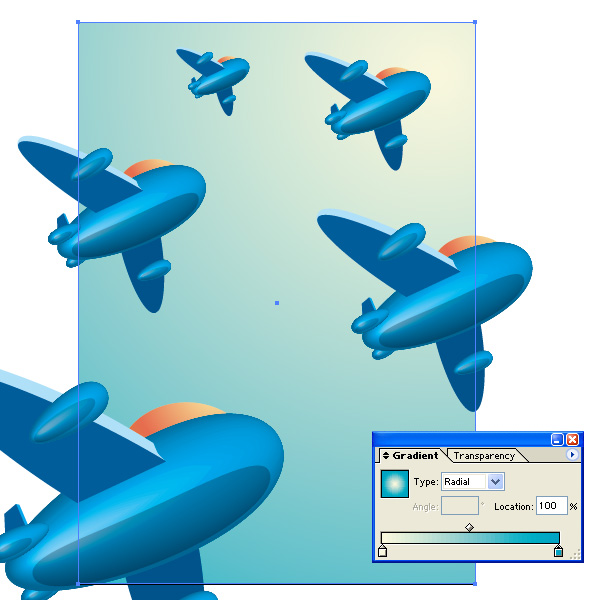
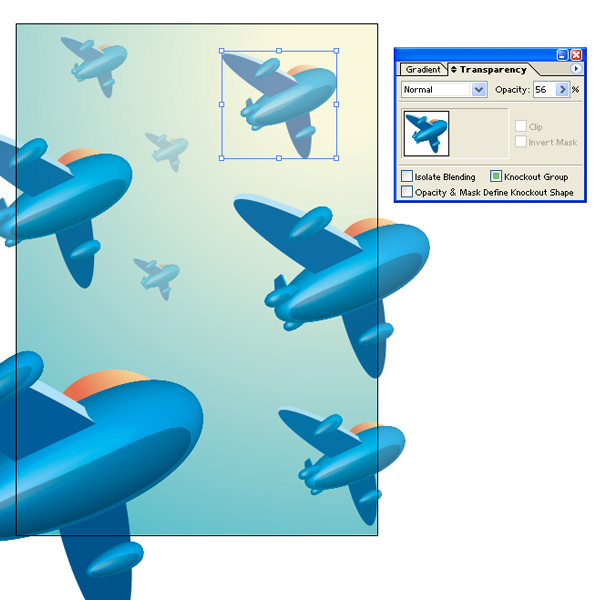
This step should be the most fun yet excited to do in this tutorial. Add rectangular background fill it with gradient color, and then varied the opacity of each plane this will make depth to the scene. In this step you might also want to change the color of each plane or the sky, feel free to experiment with color.

Step 18
Here is the final result I have, hope you guys have better then mine.

Comments are closed.
Comments have been close for this post.