Illustrator Art Tutorial: Waving Flag
« Vector Movie Posters by GABZ | Wallpaper Graphics – Guilherme Marconi’s Vector ... »

In this tutorial I will show you how to make semi realistic waving flag. The shading technique we will use later is so simple and can be applied to any object whatever shape it has.
Tutorial Details
- Program: Adobe Illustrator
- Version: CS
- Difficulty: intermediate
- Estimated Completion Time: 45 - 60 minutes
Step 1
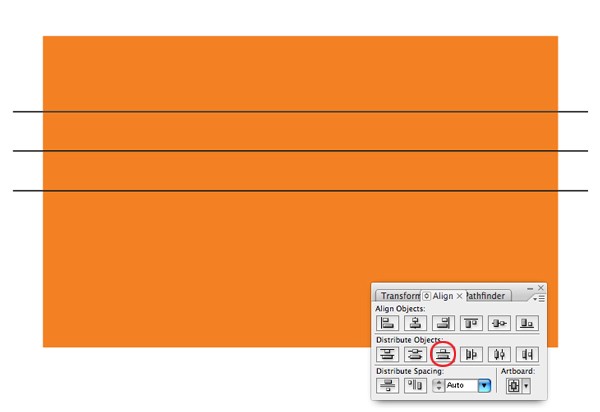
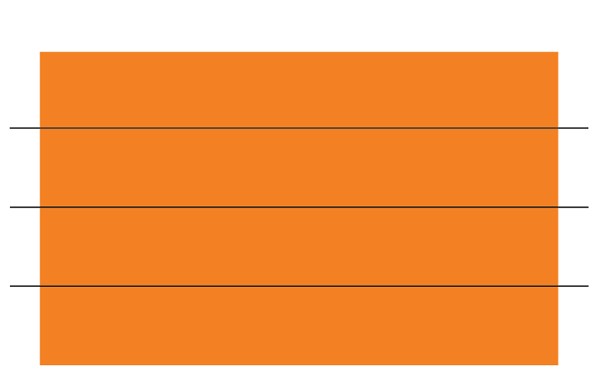
Start with making a rectangular shape using Rectangular tool (R), add three lines overlap it. Select all the objects and align them by pressing the Vertical Distribute Bottom icon in Align Palette.
Step 2
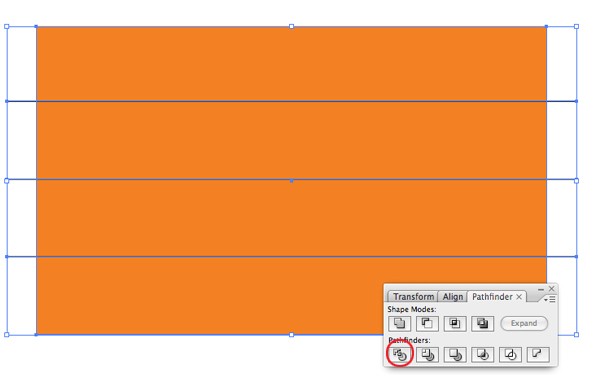
Still select all the objects, click the Divide icon in Pathfinder Palette to split the rectangular into four pieces.
Step 3
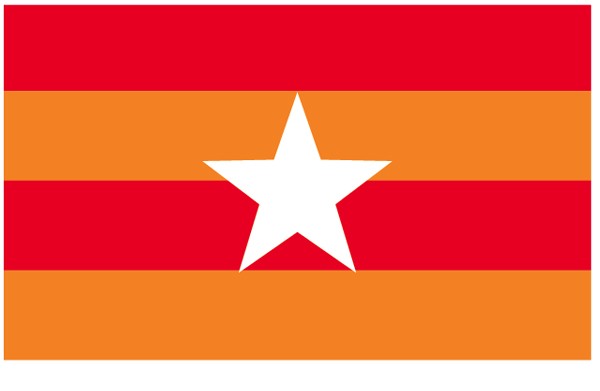
Color them with whatever colors you like and add needed graphic elements, I use white star and put it in the center of the flag. Now we have a flag.
Step 4
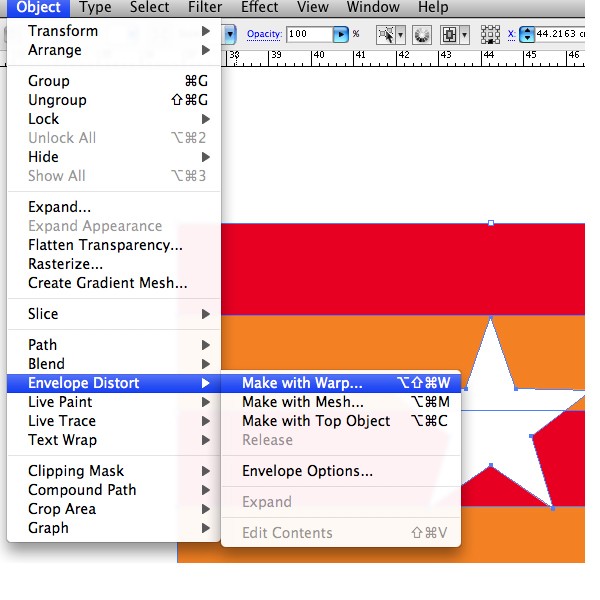
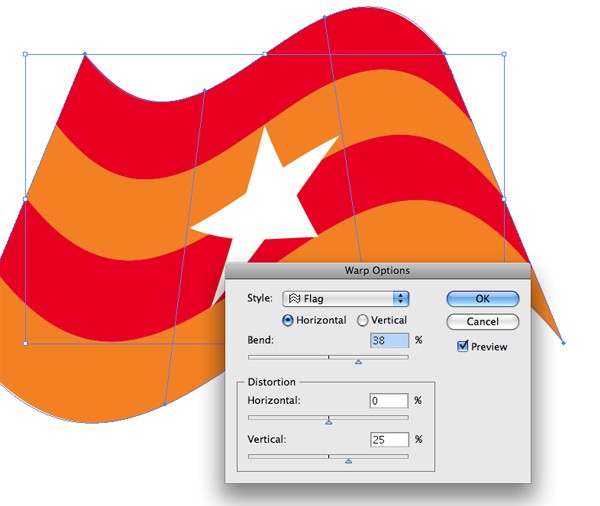
The flag is still in 2D and look flat. Now let's make it wave and look 3D. Start with distort by go to Object > Envelope Distort > Make with Warp, in Warp Option box choose Flag Style and set the Bend to 38% and Vertical Distortion to 25%. Experiment with the setting until you happy with the result.
Step 5
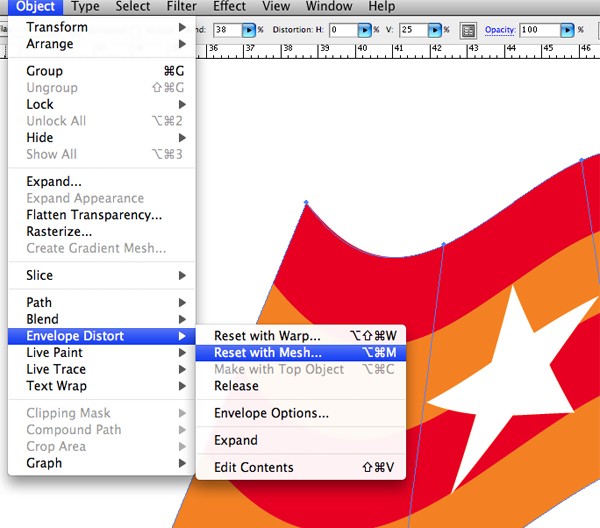
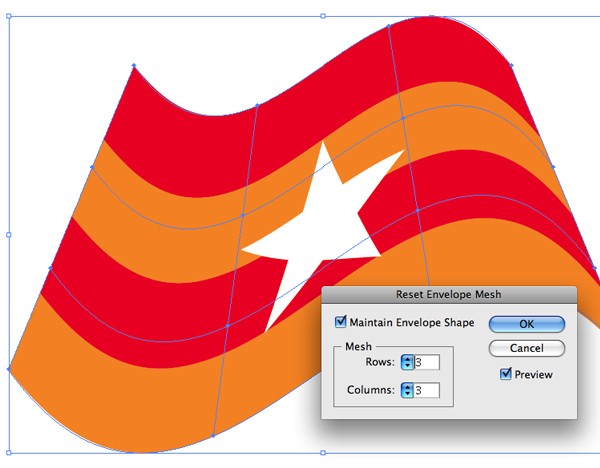
Apply gradient mesh to it (Object > Envelope Distort > Reset with Mesh), I set the number 3 for rows and columns, planning to add some later.
Step 6
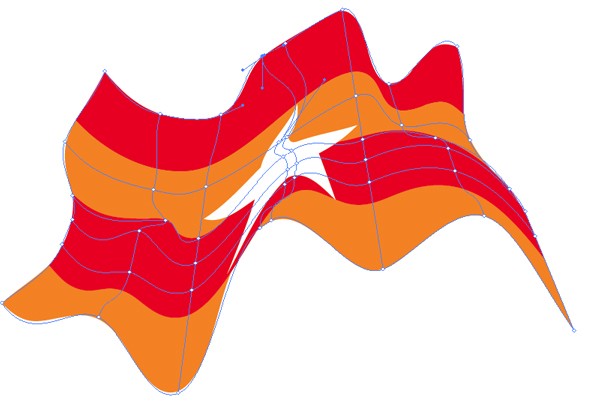
When you have the mesh within your flag, start to re-shape it using Gradient Mesh tool (U), add needed anchor, and playing with the anchor handles to get the shape as you want.
Step 7
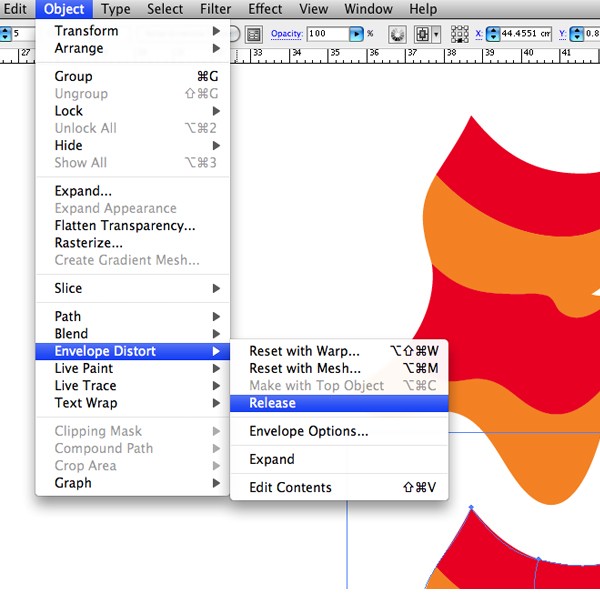
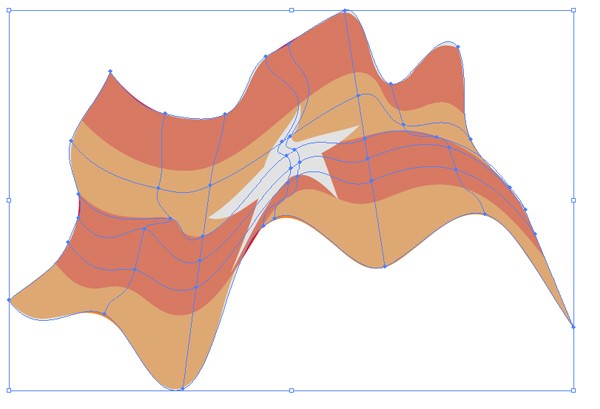
We are going to use the same mesh to shade the flag. Copy the flag, select duplicate and release the mesh within (Object > Envelope Distort > Release). Delete the 2D flag because we won't need it anymore.
Step 8
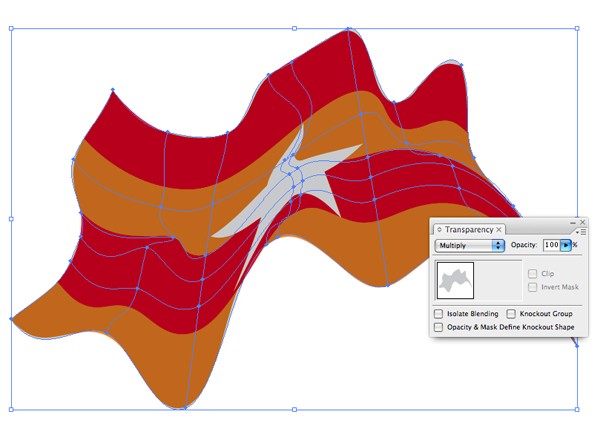
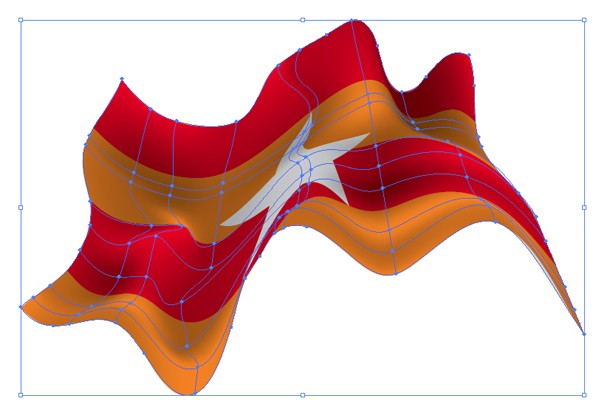
When we release a mesh from the object, the default color of the mesh is black 20%. Now place the mesh right exactly in front of the wavy flag as shown below, and set it to Multiply in Transparency Palette.
Step 9
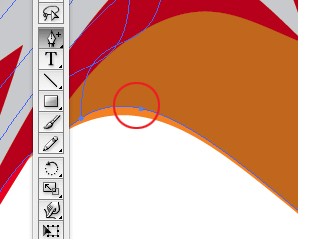
Adjust the mesh so it fit perfectly with the flag, add needed anchor point using Add Anchor Point Tool (+) and play with the handles carefully.
Step 10
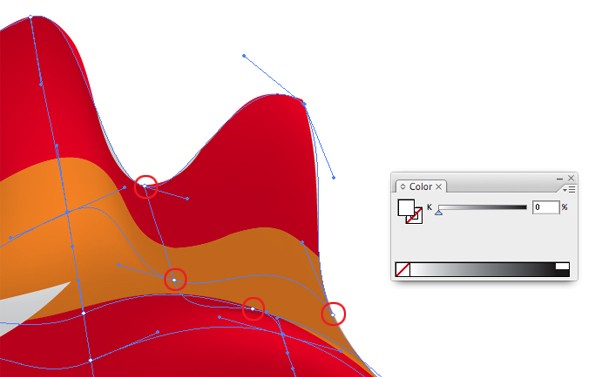
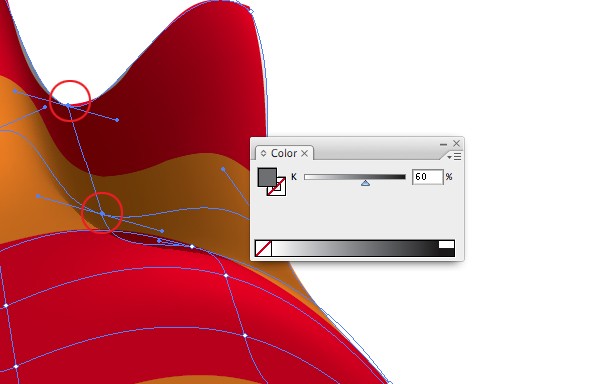
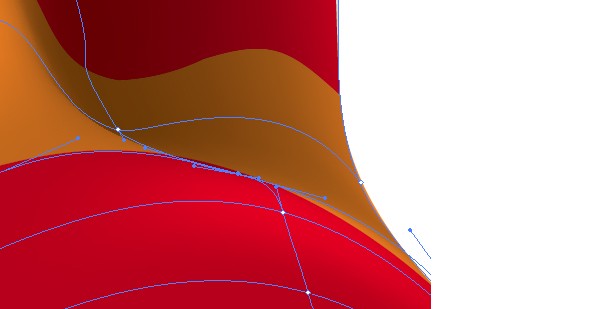
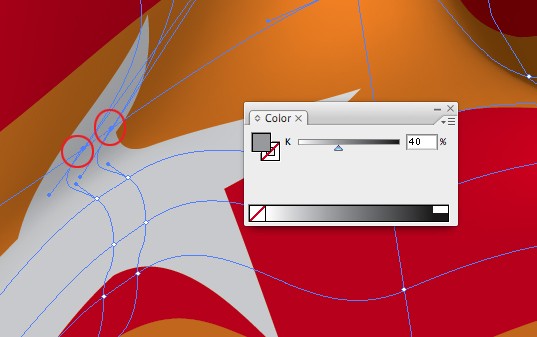
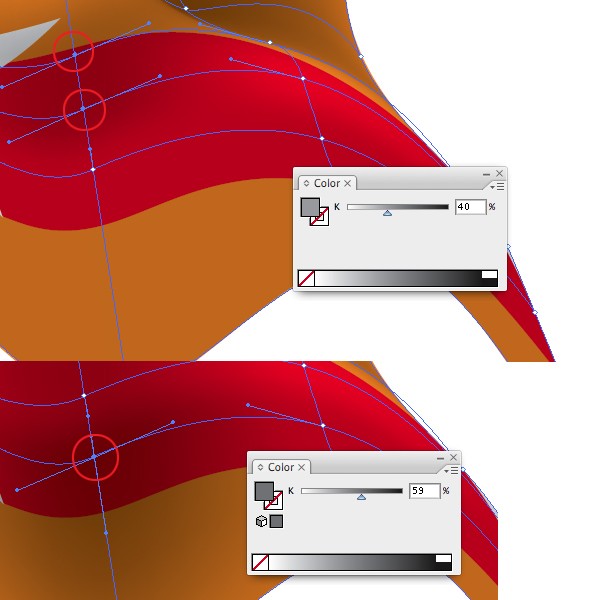
This is the best part of it all, coloring the anchor points to shade the flag. Apply white to anchors where the highlight should belong and apply various dark grey to where the shade should belong. Add needed anchor using Mesh Tool (U). In this step you might need to do lots of adjustment to some handle of the anchor.
Step 11
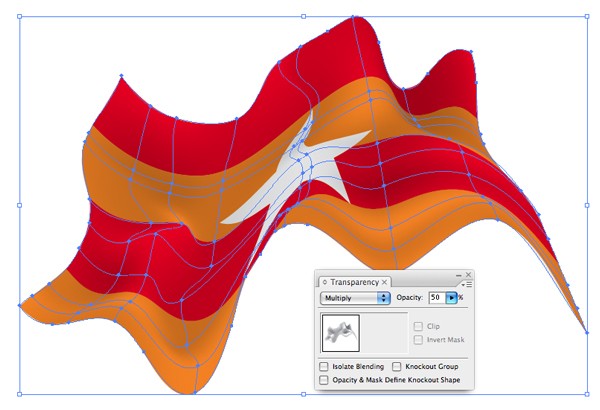
This is what the final look I got after playing with the mesh, I'm quite happy with it. On second thought I think the shading is too dark, so I decide to lighten it up a bit by lessening its opacity to 50%.
Step 12
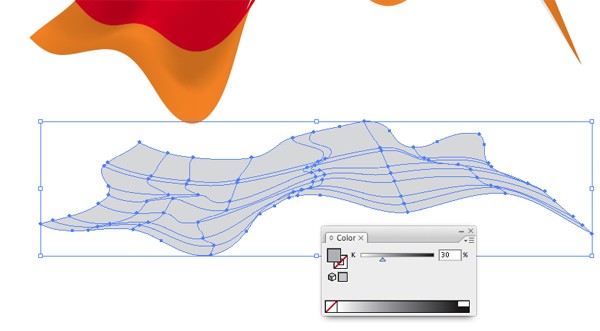
Now let's make a drop shadow under it. Select the mesh and drag it while hold alt to copy, distort the duplicate as shown below and fill it with black 30%.
Step 13
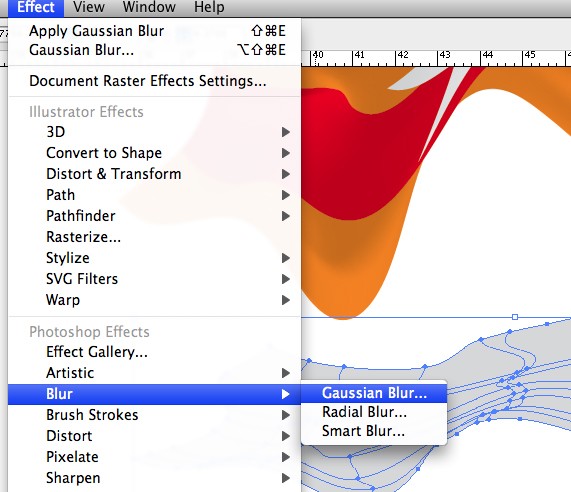
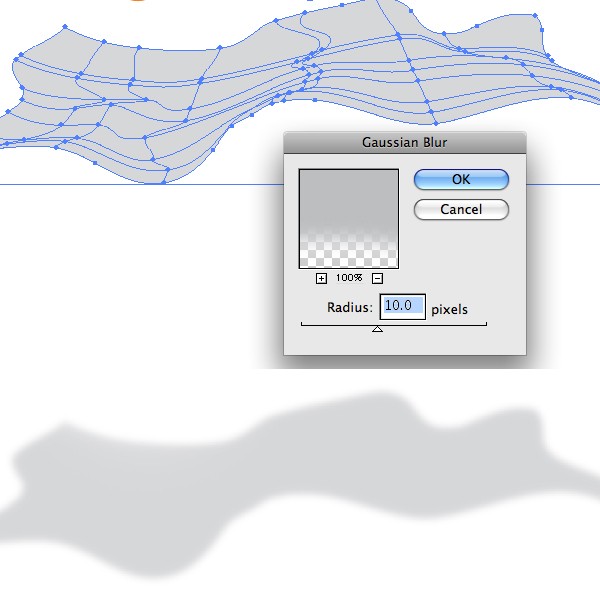
Apply 10 pixels radius Gaussian blur.
Finish
Created by Peyi for Vector NET ©2009
| AI Vector File |
Comments are closed.
Comments have been close for this post.





Comments
1 Ed says...
Posted at 4:02 p.m. on November 17, 2011