Illustrator Tutorial - How to Create a Watch
« Andrew Bannecker - Simple, True and Tender | Vector Movie Posters by GABZ »

Have you ever seen print advertising of some watch brand before? I'm sure every body has. What I like from those prints is the beauty of the product shoot, the lighting is so beautiful. I wonder if we can do it in vector. So let's give it a shoot.
Tutorial Details
- Program: Adobe Illustrator
- Version: CS
- Difficulty: Easy/ Beginner
- Estimated Completion Time: 30 - 60 minutes
Tutorial Details
Program: Adobe Illustrator
Version: CS
Difficulty: Easy/ Beginner
Estimated Completion Time: 30 - 60 minutes
Step 1
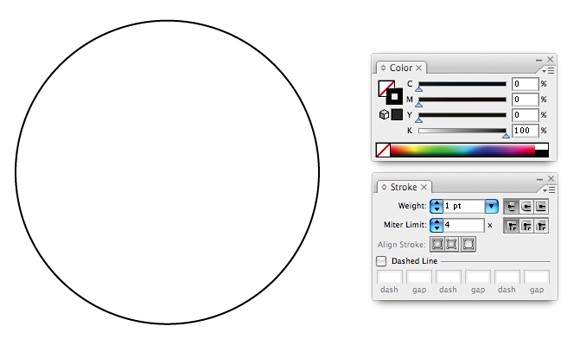
Make the basic shape of the watch first, the common shape is ellipse. Fill it with white and black stroke.
Step 2
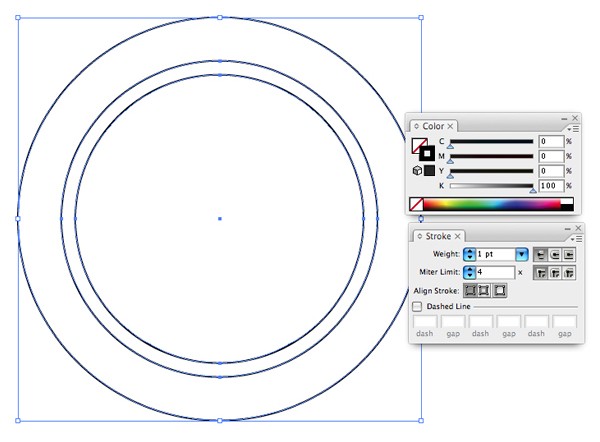
Make two copies of it, Ctrl + C then Ctrl + F to place it right in front. Adjust the duplicates as shown below.
Step 3
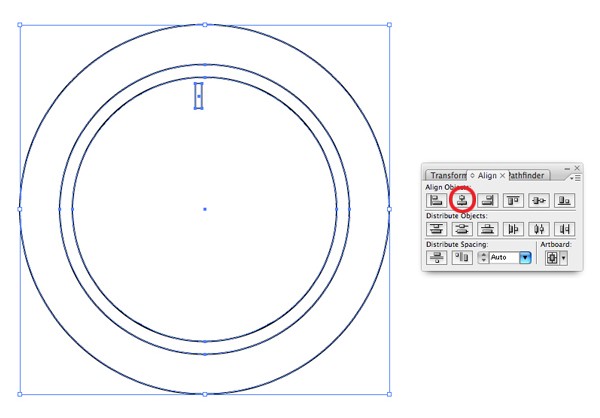
Make a small rectangular and position it as shown below, this object will work as starting point for us to set the other rectangular. Align it with the ellipses by go to Align Palette and click the Horizontal Align Center.
Step 4
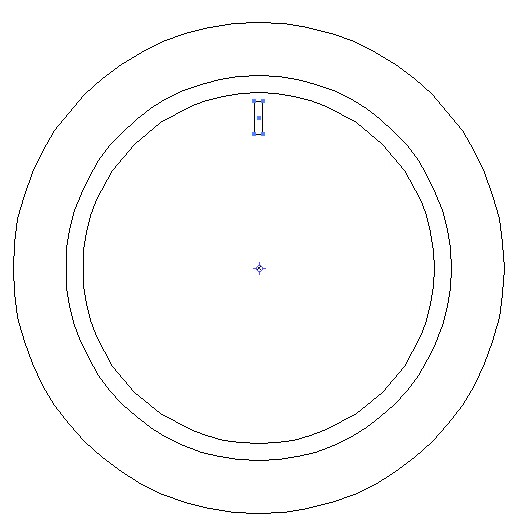
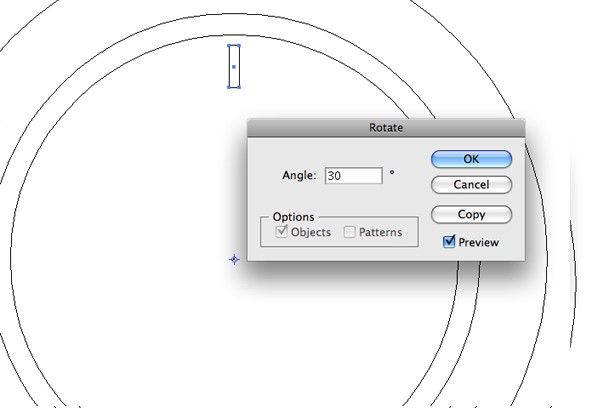
Switch to Outline mode (Ctrl + Y) so we can see the center point of the ellipse. We are going to use this center point as the axis to rotate the rectangular.
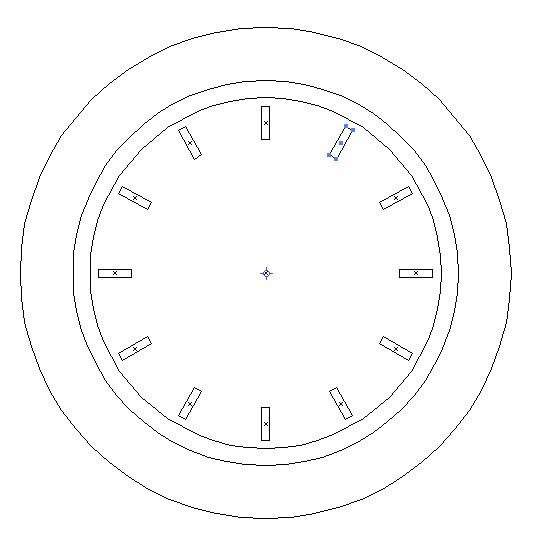
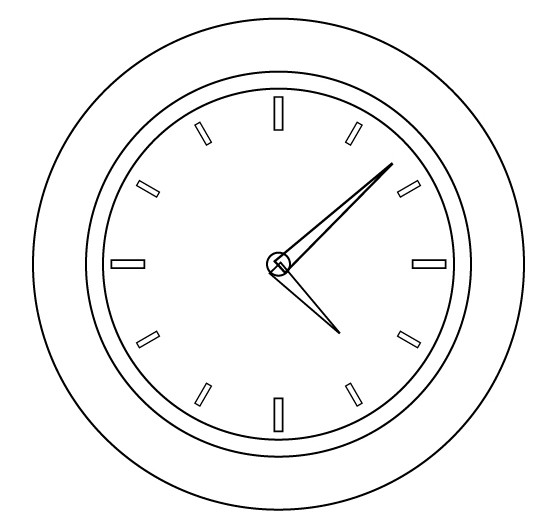
Select the rectangular, use Rotate tool (R), click on the center point of the ellipses while hold down the Alt key, fill 30 in Rotate dialog box and click the "copy" button. Repeat copying (ctrl + D) until we have 12 rectangular in a circle.
Step 5
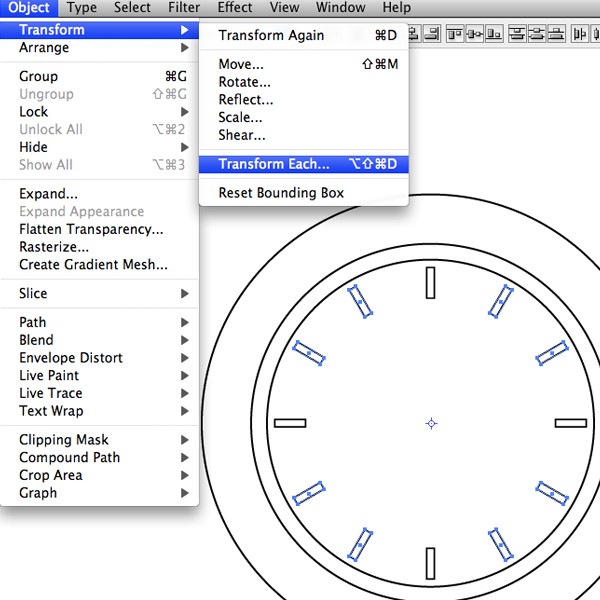
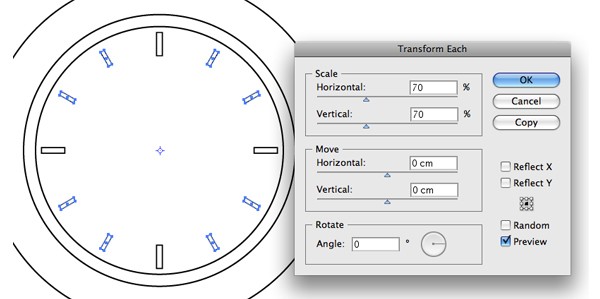
Now I want the rectangular for number 12, 3, 6, and 9 bigger than the other, so let's resize the other smaller. Select the rectangular that we want to resize and go to Object > Transform > Transform Each, set the horizontal and vertical to 70%
Step 6
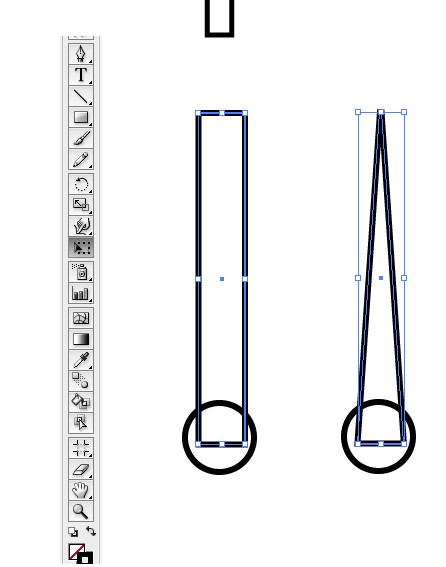
Now make two triangles as the hour and minute hand. First make a rectangular then transform it using free transform tool (E). Drag the one of upper corner then press and hold down Ctrl + Shift + Alt until you got the result as shown below. Copy it and position them as you like, add small ellipse and place it in front of them.
Step 7
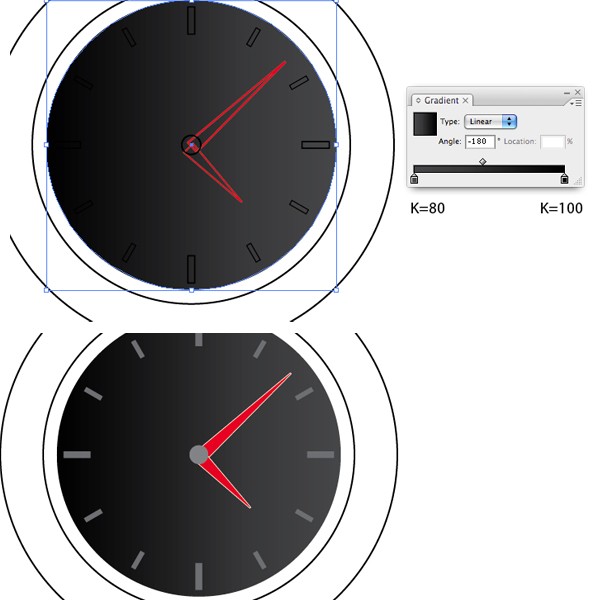
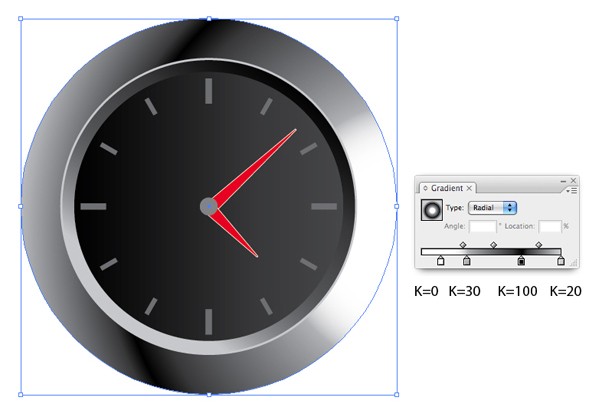
Now fill the background with dark grey to black gradient, color the hour hands. To have bevel effect fill the medium ellipse with light grey to black gradient and set light grey as the stroke.
Step 8
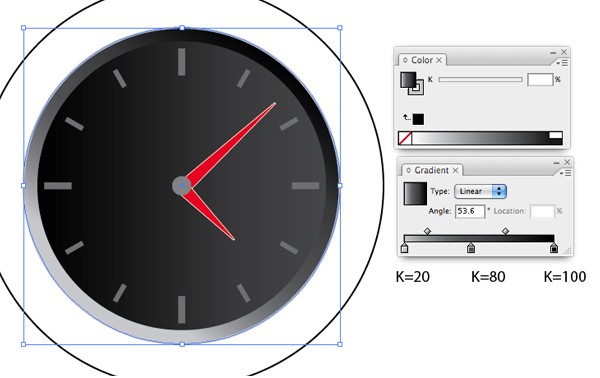
Next apply gradient color as shown below to the body, set the type to radial and drag using gradient tool (G) from right to left. Now we have a shiny metal body.
Step 9
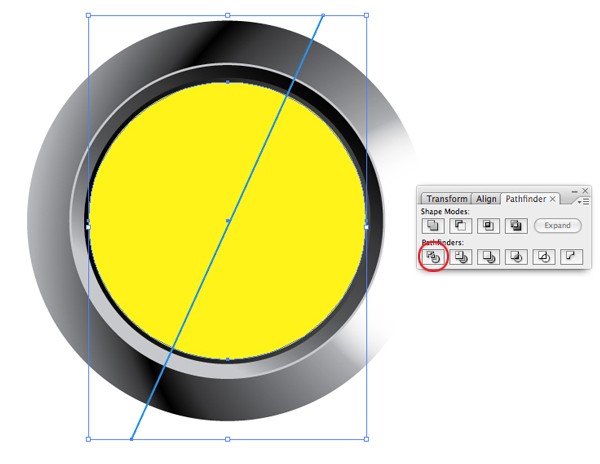
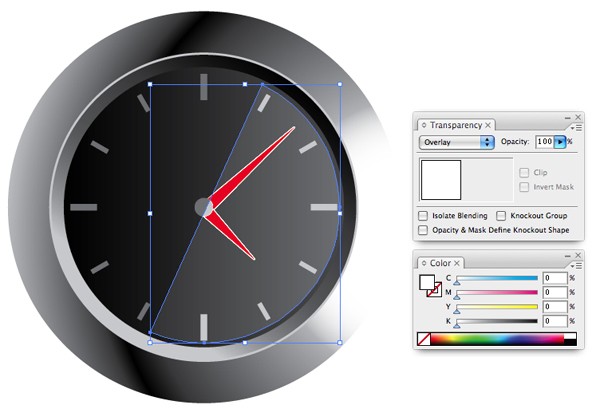
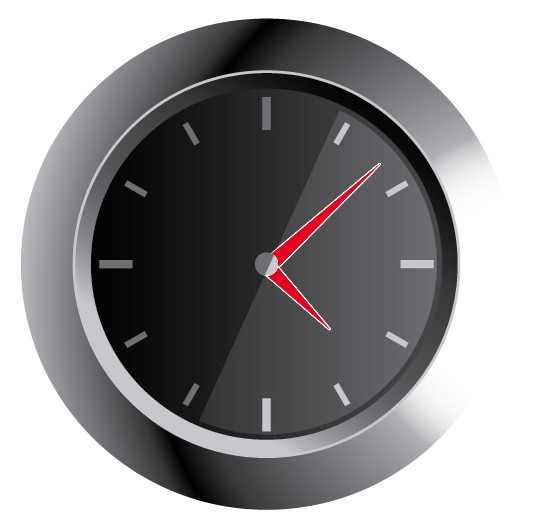
Now let's make a light reflection on the surface of the cover glass. Make ellipse a little bit smaller than the cover itself, also make a diagonal line overlap it. Select them both and press Divide button in Pathfinder palette. Ungroup, delete the left one and fill the right with white and set the blending mode to overlay.
Step 10
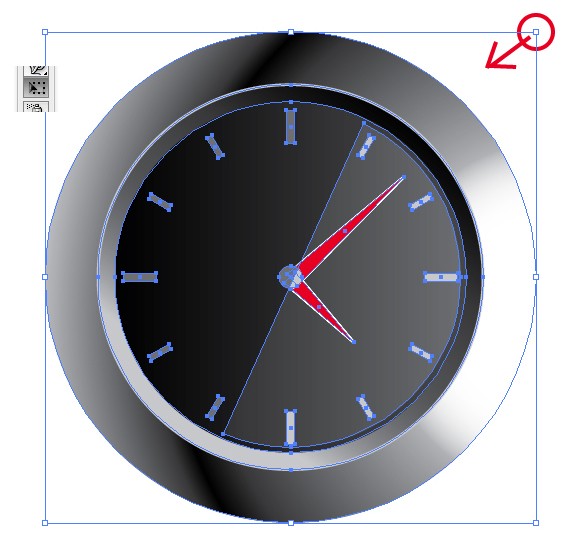
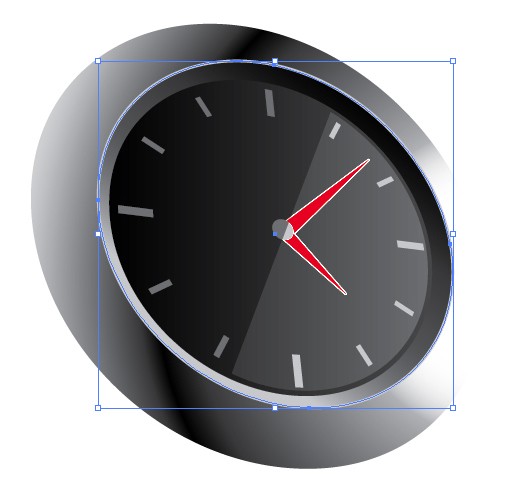
Now we already have a front view watch, time to turn it into perspective view. Group the object, using Free Transform tool (E) drag the upper right corner to bottom left then press and hold down the Ctrl key until you got the result as shown. Remember, when using Free Transform tool you must drag one of the corner first then press and hold down one or more of Ctrl, Alt, and Shift key, do not do it the other way because it won't work.
Step 11
Adjust the position of the bevel ellipse (middle one) until you got the perspective right.
Step 12
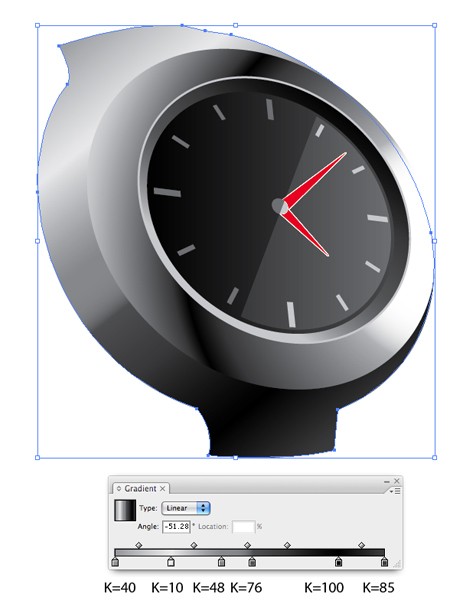
Now make three shapes as shown below, this is suppose to be the main body of the watch. Select them and press Add to Shape Area button in Pathfinder palette, when you are done click the Expand button. Fill the result with gradient as shown below.
Step 13
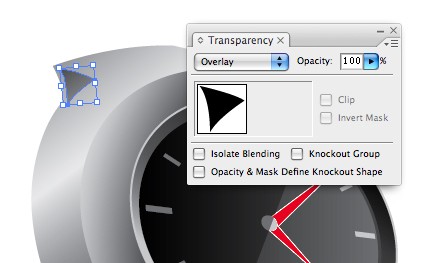
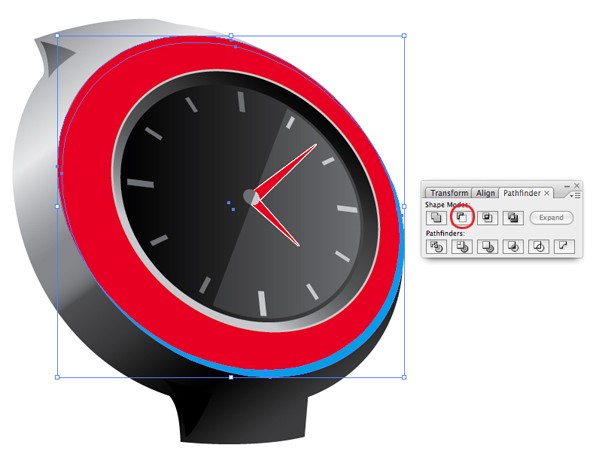
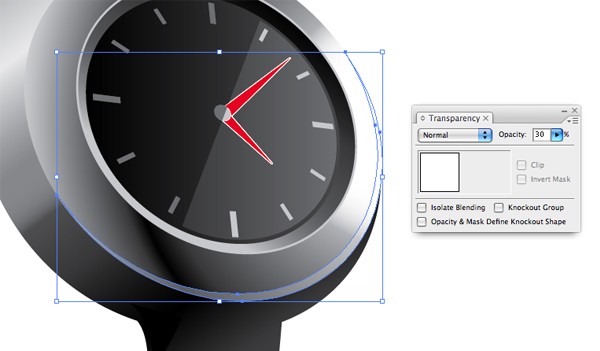
Now create a light reflection on the surface. Copy (Ctrl + C) the outer ellipse and paste in front (Ctrl + F), fill it with Cyan. Drag and hold Alt key to copy it, fill it with red. Position them as shown below and apply Subtract from Shape Area in Pathfinder palette, click Expand. Set the subtracted shape opacity to 30% in Transparency palette.
Step 14
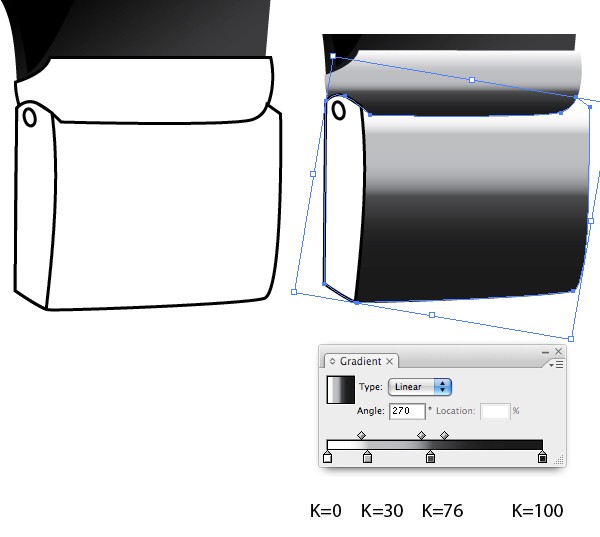
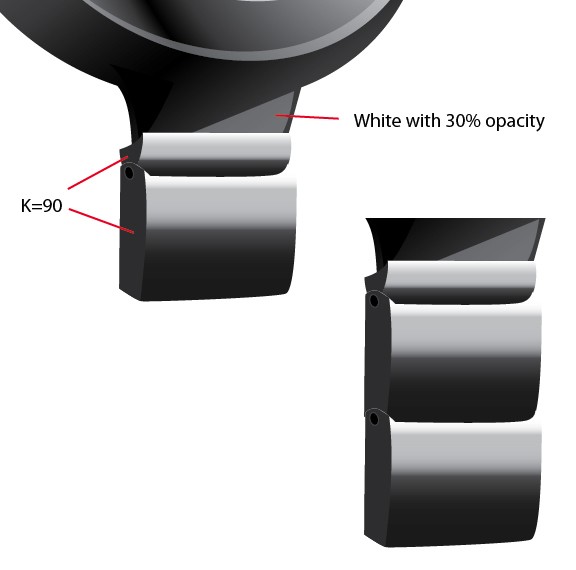
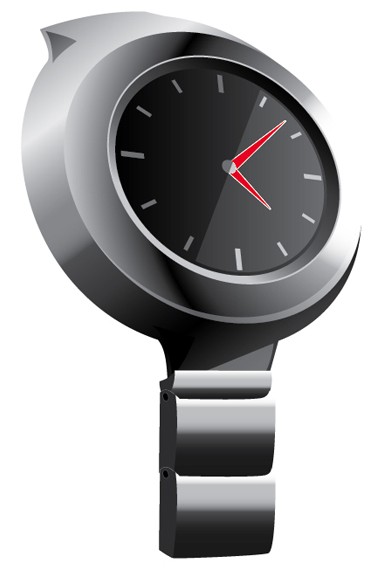
Create shapes that will be the hand watch, and fill them with gradient as shown below. Also adjust needed objects to have it look more 3D and realistic.
The watch is done ^_^
Step 15
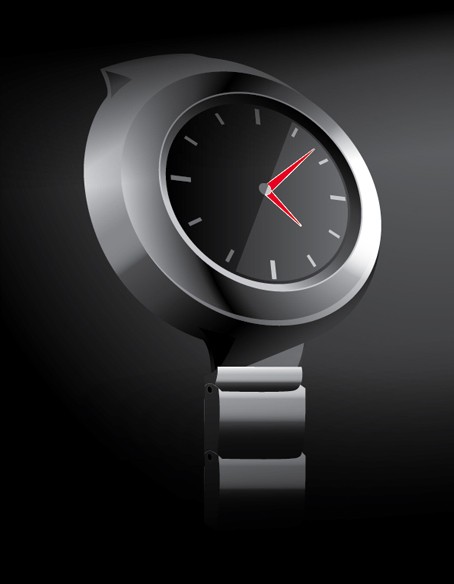
Now we have the watch done, time to add background to it. Create rectangular in new layer, and fill with dark grey to black gradient, set the direction from upper right to bottom left.
Step 16
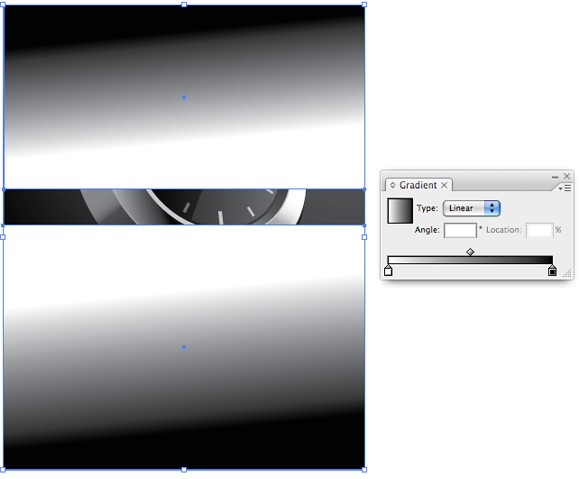
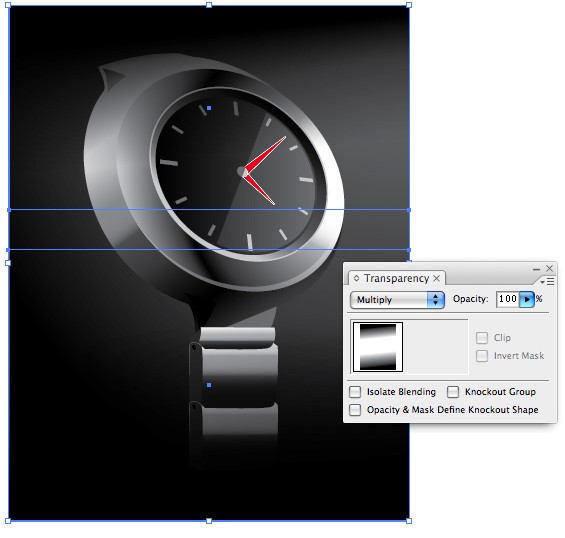
Back to work in top layer, make two rectangular and apply gradient as shown below. Set them to Multiply in Transparency palette. Multiply mode works like this; it hides any objects below the black color and keeps the ones below the white visible.
Finish
| AI Vector File |
Comments are closed.
Comments have been close for this post.





Comments
1 SchoolKidJunkie says...
Posted at 4:41 p.m. on March 1, 2010